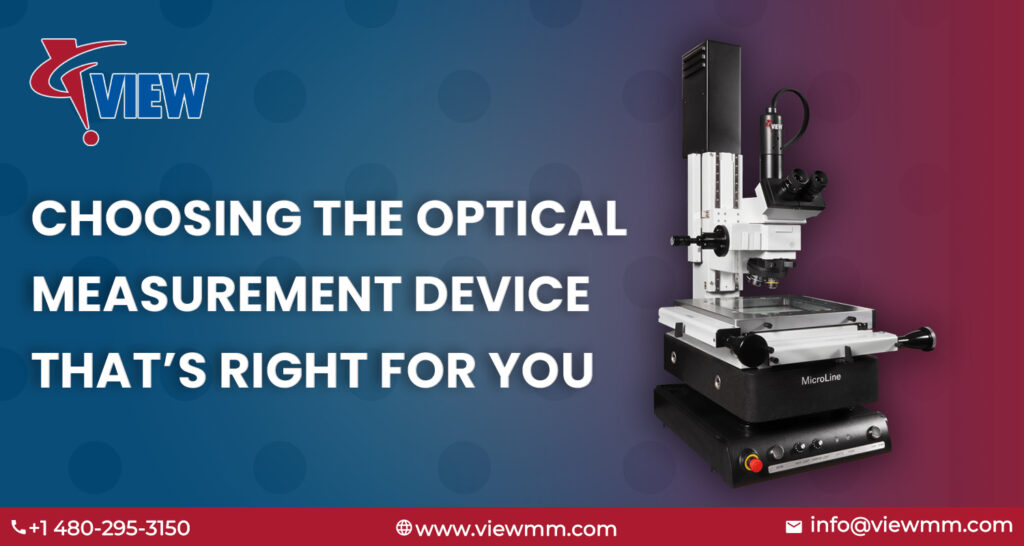
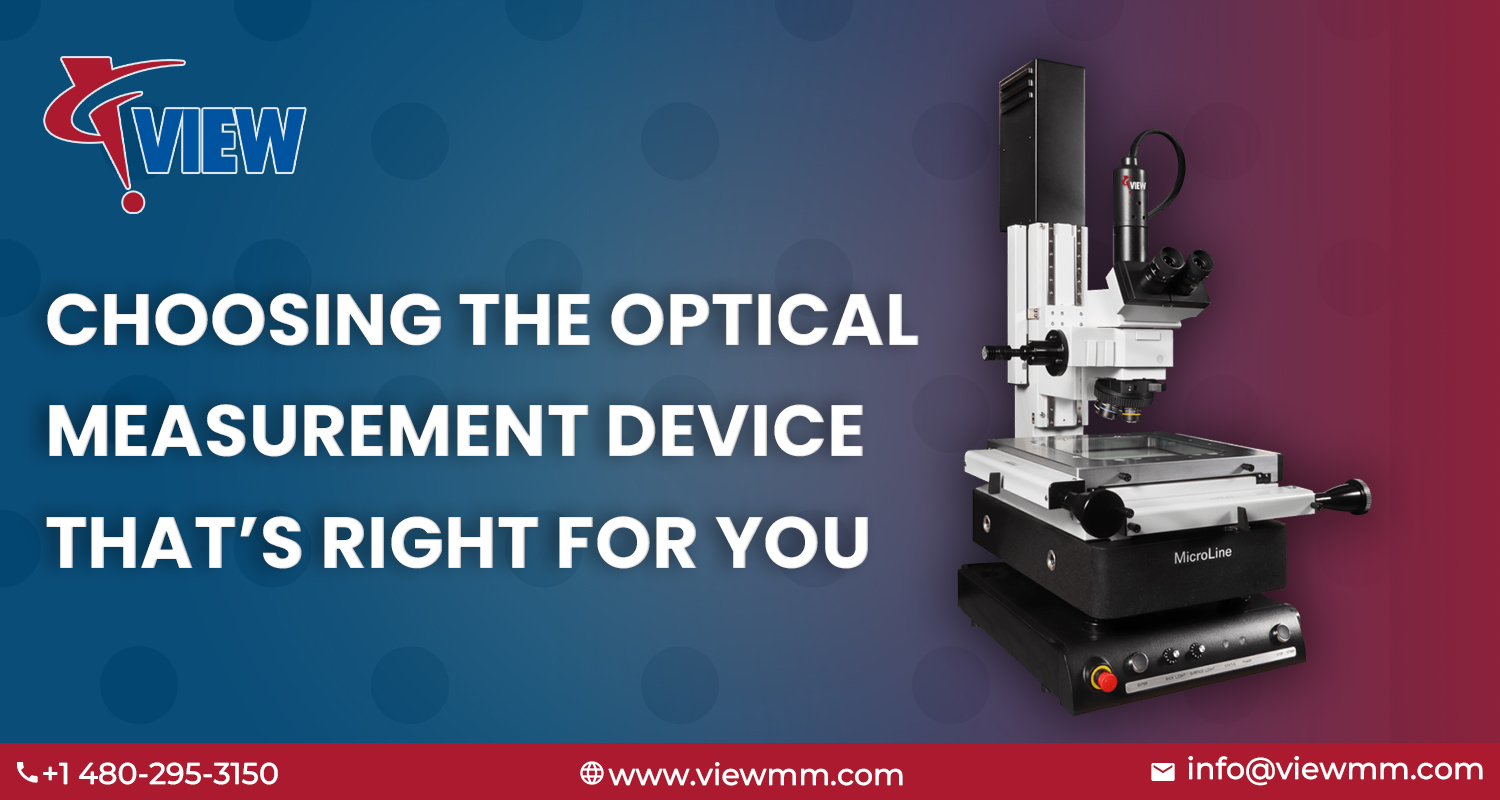
Optical metrology refers to non-contact measurements using different light sources. This usually requires at least one lens, one light source, and one detector. It differs from other forms of inspection because instead of using a tactile measurement method such as a tactile probe, it uses either a reference point (such as a crosshair) or a computer to detect the edge. The biggest advantages of an optical measurement machine are its ability to measure features that are too small or delicate to measure by touch, and the fact that it is faster than other forms of measurement.

The medical, plastics, aerospace and automotive industries are where optical measurement is, and will continue to have a significant impact. But, in reality, this form of non-contact identification is applicable to applications in most workspaces and sectors.
Adopters of modern optical measurement instruments are looking for easy-to-use technology that supports the acquisition of more accurate data in less time. As a result, there is an increasing demand for in-line measurement and fast processing of acquired images, as well as image stitching capability and large fields of view. There is also a growing demand for innovative components such as liquid lenses. But all factors should be considered when deciding which—if any—optical metrology measuring device is right for you.
Vision Measuring Machines
Vision Measuring machines are optical inspection machines. These are built on a platform having three axes and at least one objective lens. Coordinate Measuring Machine is often controlled by a computer. However manual models also exist, using computers to detect automatically the features and calculate measurements from those identified features. Apart from the machine frame or base with at least three axes and an objective lens, all vision-measuring machines have a computer, and image detector. The frame holds the part that has to be measured together with the lens and detector.
The detector itself demonstrates the light collected by the objective lens and turns it into an electrical signal. The computer then uses these signals to calculate dimensions that are based on the measured edges (such as distance, diameter, etc.). The detector can be a complementary metal oxide semiconductor (CMOS) or charge-coupled device (CCD).
Unlike profile projectors, optical comparators, and most measuring microscopes, video measuring machine use computers for edge and control detection and, thus require software. In CNC sight measuring machines, the software moves the camera to a given position on the measuring part and detects points on the edges and surfaces within the camera’s field of view. After that, the software uses the detected points to construct features like diameters and lines. Most cad to measure software can also output ASME or ISO tolerance like actual position, parallelism, etc. and output values is measured in a variety of formats, which includes text file output, direct to SPC, and others.
Because vision measuring machines have some limits on what features can be measured, additional sensors are often added. The most common is a tactile probe, which allows the machine to function similarly to a coordinate measuring machine (CMM). Lasers can also be added to speed up or improve the accuracy of Z-axis measurements, or for 3D scanning purposes.
In the context of 3D scanning, color position sensors (CPS) can also be used and, although not sensors, in-focus image stacking, also known as points from focus, is the standard for generating 3D scans. A vision measuring machine can be connected to enable the camera. Any part being measured. Finally, white light interferometry (WLI) can be combined to generate a 3D scan using interferometry instead of focus stacking.
VIEW is a leading brand that offers a full line of optical metrology systems for wafers, sliders, photomasks, MEMS, semiconductor packages, HDD suspensions, probe cards, and micro-component process measurements.


