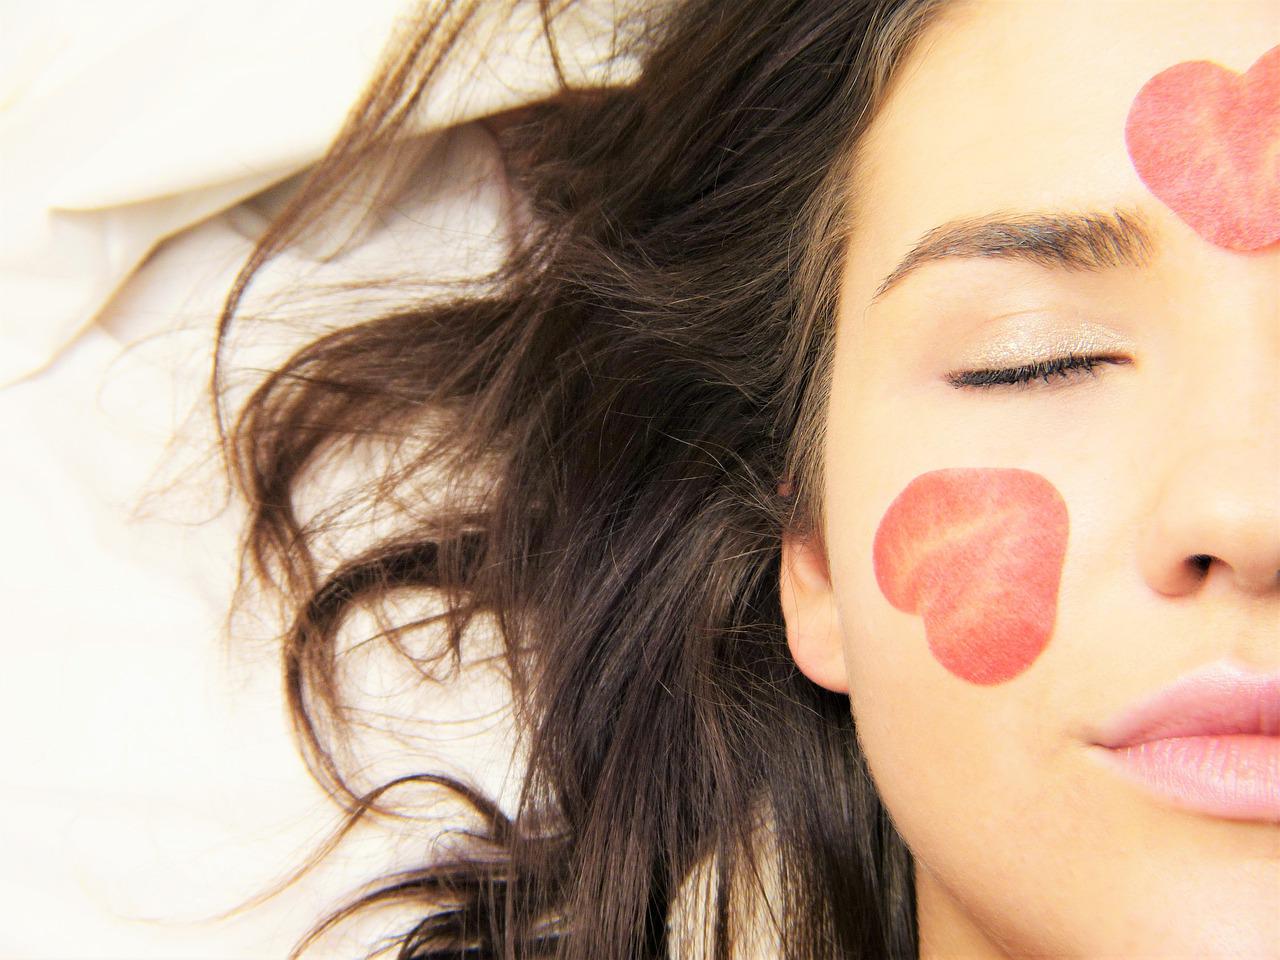
Nothing matches the feeling that one gets when you glide your finger on silky smooth skin. If you consider that facials are the only time (and money) wasted in the salon, reconsider! Since your skin is passing up something beneficial for it.
Whether you do not have problems like hyperpigmentation, serious skin breakout, or some other issues, your skin needs extra care from professionals to keep it healthy and liberated from skin issues.
That is what facials are for. Facials have amazing benefits for your skin if taken in moderation. Think of it as proper 360-degree care for your skin. Besides, it is the ideal approach to see whether your skin needs anything or how it is responding to hormones, contamination, stress, and different components.
I realize that you have your DIY tips for dealing with your skin at home, yet an expert can help you genuinely comprehend your skin. Furthermore, that astonishing facial back rub makes your skin glow free from problems and helps to de-stress you, and helps to relax.
After reading these benefits, before you ladies rush towards beauty parlors, let me save you some tips. You don’t need to visit a parlor now and then to get the benefits of a facial.
There are enough ingredients at home that can prove to be helpful. Yes, you might not know it, but your garden has everything you need to get beautiful, flawless skin.
If not, you can always buy plants online and prep your garden with amazing plants. Following are some tips on doing a facial with all the ingredients available at home.
1st step: cleansing
The first and most important step of any facial is cleansing. Whether you are going for packed products or using natural ingredients, starting on a clean slate is very important.
Cleansing removes the excess oil and any grime, which can reduce the effects of a facial. Also, you would not want to mix the dirt with other ingredients and make it a mess, right?
So, first of all, clean your face. To do so, you can use our 1st and very effective ingredient – honey. Honey is a natural cleanser so that it will remove all the dust, dirt, and grease from the face. Also, since it also has moisturizing properties, it will not dry out your skin.
So, wet your face, and with clean hands, rub honey on the entire face and neck. Wash off after 1 minute.
2nd step: scrubbing
If you have taken a facial before this, you might already know the steps. Cleansing is always followed by scrubbing. This step is important because, after cleansing, you need to open up your pores so that the other facial ingredients can easily seep into your skiing and provide your benefits.
If the pores are closed, you will apply and wash off the top layer. So, prepare your skin by scrubbing with a homemade scrub. Mix coffee and curd to scrub; it will remove the dead skin cells naturally. The qualities would be 1 tsp coffee and 2 tsp coffee.
3rd step: steaming
The next and very important step of a facial is steaming. Never skip this step because the steam will soften your skin and settle in the opened pores giving you ample hydration. The main reason for dullness is the lack of hydration in the skin. So, prepare your skin to be mask ready, which is the last step. Take a bowl of warm water and add 2 tsp of rose water to it. Now, take a towel and steam your face with it.
4th step: face mask
Masking your face is the final step. You can make a runny mixture of aloe Vera and honey and apply it to your face. Leave for about 15 minutes and wash off. Use fresh aloe Vera; if you don’t have one, order online indoor plants to use them anytime you want.
This is a 4 step all-natural facial you can try.
If it is your first time getting a facial, then doing it with all-natural ingredients is a perfect idea for you. It will not be too much for the skin because the packed products may contain preservatives and chemicals.