Gearboxes are one of the most important parts of a car. Without them, your engine wouldn’t work. Gearboxes can also be quite delicate, so it’s important to keep them in good condition. In this blog post, we will discuss the 6 steps to repairing a gearbox. This guide will help you diagnose and fix common gearbox problems.
Planning
1. Get the right tools: The first step in repairing a gearbox is getting the right tools. A gearbox requires specialised tools and knowledge to be repaired successfully. A few of the necessary items include a precision gearbox repair tool, tap, die set, punch, nut driver, ratchet set, spanner set and socket set.
2. Clean and degrease the gearbox: Once you have gathered all of the necessary tools, it is important to clean and degrease the gearbox before starting repairs. Use a degreaser such as brake cleaner or acetone to clean all surfaces inside and outside of the gearbox. Make sure to remove any grease or oil that may have built up over time.
3. Replace seals: Next, replace any seals that may have blown or cracked due to wear and tear. This includes RC (resistance) seals, O-rings and bearing retainer rings. Be sure to replace all seals if they have failed completely or if there are signs of damage such as leaks or smoking..
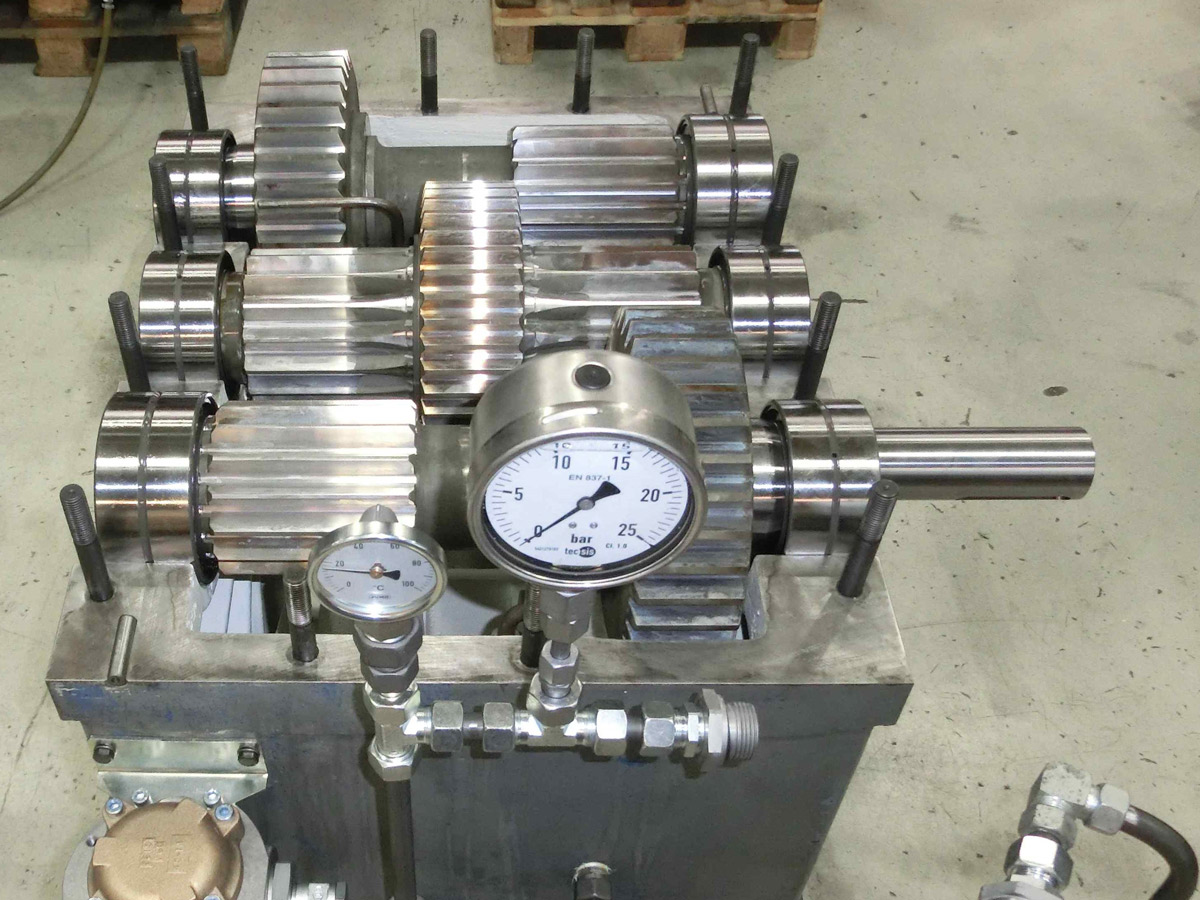
4. Adjust gears: Once all seals have been replaced, it is time to adjust the gears by using your precision gearbox repair tool. Use a dial indicator to measure and adjust the gears until they are perfectly aligned and free from backlash..
Checking Gearbox Condition
Gearboxes can often be repaired by replacing the damaged or worn parts. The following are the steps for repairing a gearbox:
1. Identify the gearbox problem.
2. Evaluate the gearbox condition.
3. Select the appropriate repair method.
4. Perform the repair procedure.
Removing and replacing Gears and Bearings
If your gearbox is starting to make strange noises, there’s a good chance it needs to be replaced. Gears and bearings can both wear down over time, causing the gearbox to become noisy and unreliable. Here are the steps to repairing a gearbox:
1. Remove the engine cover. On some engines, the cover may simply pull off with a bit of force. If it doesn’t come off easily, use a screwdriver or other tool to pry it off from the engine itself.
2. Locate the gearbox assembly. It will likely be located behind or near the engine. There may be some insulation between it and the engine itself, so be careful not to damage anything in the process of removing it.
3. Disconnect all of the cables and hoses that are connected to the gearbox assembly. Make sure you label them so you can reattach them correctly when you’re finished repairs.
4. Remove any debris or dirt that may have accumulated on the gears and bearings over time. Use a cloth or vacuum cleaner to clean everything up as best you can before starting repairs.
5. Inspect each gear for wear or damage. If there is significant damage, replace that part instead of trying to repair it. Once all of the gears have been inspected, replace any that need replacement based on their condition and severity of wear/damage
Reassembling Gearbox
Gearboxes can be a bit of a headache to repair, but with a little patience and some simple tools, they can be back up and running in no time. Here are the steps to repairing a gearbox:
1. Remove the bolts that hold the cover on. You will need to do this from both sides.
2. On the inside of the cover, use a Phillips head screwdriver to pry off the two screws that attach it to the motor shaft.
3. Carefully pull out the cover and set it aside.
4. Locate and remove the six screws that secure the gearbox shell 5.the drive train (three on each side). Again, use a Phillips head screwdriver to remove them.
6. Withdraw the gearbox shell from the drive train and set it aside.
Visit here https://zaratechs.com/?s=Service for more website blogs