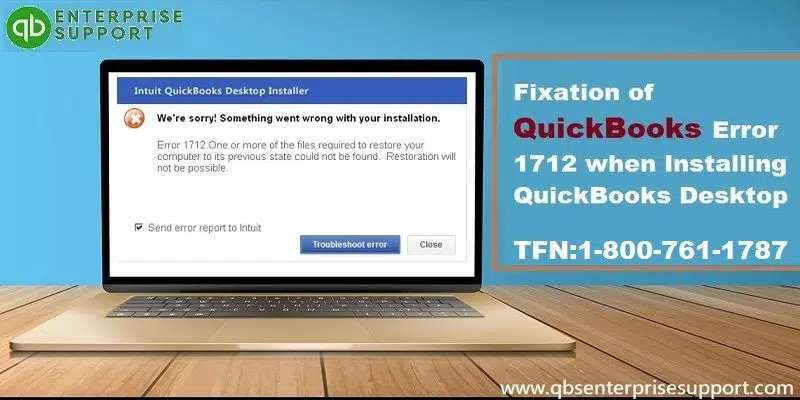
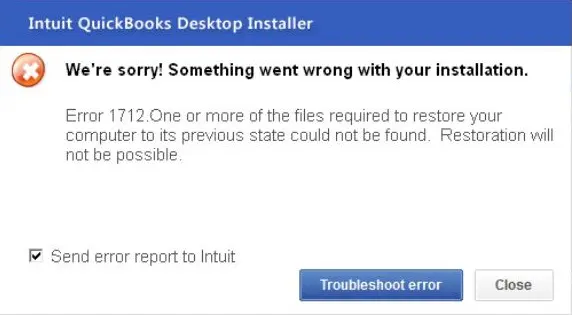
The most frequent occurrence of QuickBooks error code 1712 is during the installation of QuickBooks on the main or primary host or server computer. When one or more Windows components are missing or when files are corrupt, the QuickBooks error 1712 occurs. It interferes with the smooth operation of programs and applications and has an impact on the Windows operating system.
Factors that contribute to QuickBooks Error Code 1712
The various causes that may lead to this QuickBooks error include:
- There are some changes being made to the QuickBooks software.
- Configuring QuickBooks in a broken folder.
- Adware, spyware, and viruses are affecting your system.
- Your software has some registry problems or corruption.
Various measures which you can perform to fix QuickBooks Error 1712
This section contains the various methods for troubleshooting Error code 1712.
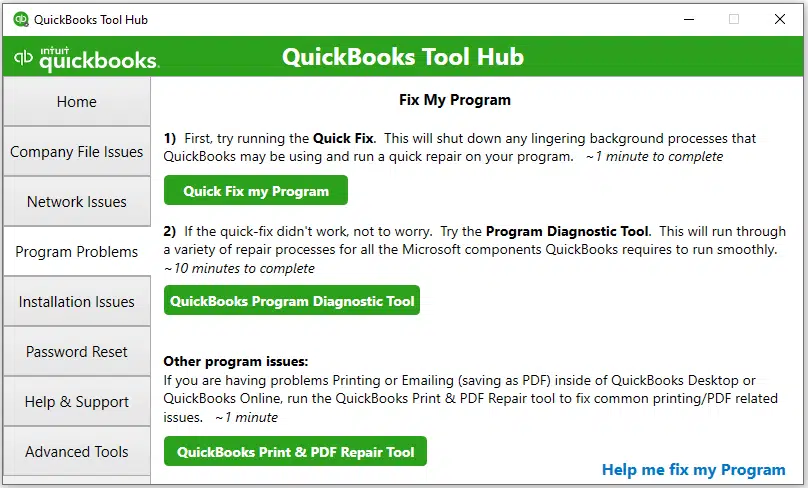
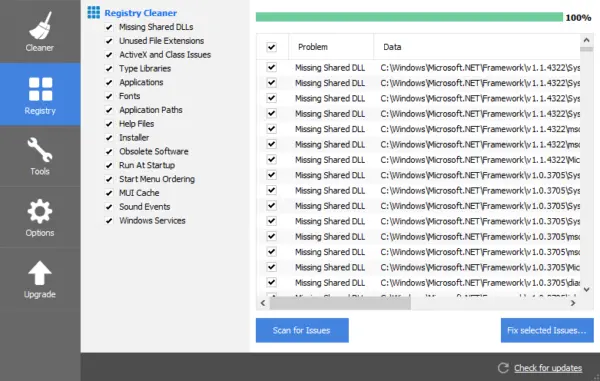
Measure 1: Use QuickBooks Tool Hub
The QuickBooks install Error Code 1712 can be fixed using the comprehensive QuickBooks Tool Hub, which is outfitted with a variety of features. Follow the instructions below to run the tool:
- Shut off any open QuickBooks programs.
- Download the QuickBooks Tool Hub and install it on your computer.
- Select Finish once the installation is finished.
- At this moment, launch QuickBooks Tool Hub on your PC.
- You need to launch Quick Fix My Program from the Tool Hub.
- From the QuickBooks Tool Hub, select Program problems.
- Select the Quick Fix My Problems tool.
- Please wait until the device has finished operating.
- Once the scan is complete, recheck to see whether the QuickBooks install Error 1712 has been resolved.
- If the issue persists, use the QuickBooks Diagnostic Tool. The following procedures must be followed in order to use the tool.
- Select Installation issues from the QuickBooks Tool Hub menu.
- After doing so, select Activate the QuickBooks Diagnostic Tool.
- Give the tool permission to finish the diagnosis. Watch for the process to be finished.
- Install QuickBooks and run it again to see if the problem has been resolved.
Measure 2: End processes in Task Manager
Follow the steps listed below to end the background processes:
- Close all running programs on your desktop.
- Next, hold down Ctrl, Shift, and Esc at the same time.
- As a result, the Task Manager appears on your screen.
- If the Processes tab is not already selected, click on it to do so.
- For each QuickBooks process that you discover running in the background, choose it.
- You then need to stop these processes. To stop them from running in the background, click End Task. Apply this process to each and every QuickBooks background process.
- After that, quit the Task Manager and restart your computer.
- Check if Error Code 1712 has been resolved by opening QuickBooks. If the issue still bothers you, try the following tactic.
Method 3: Edit data path in the Registry
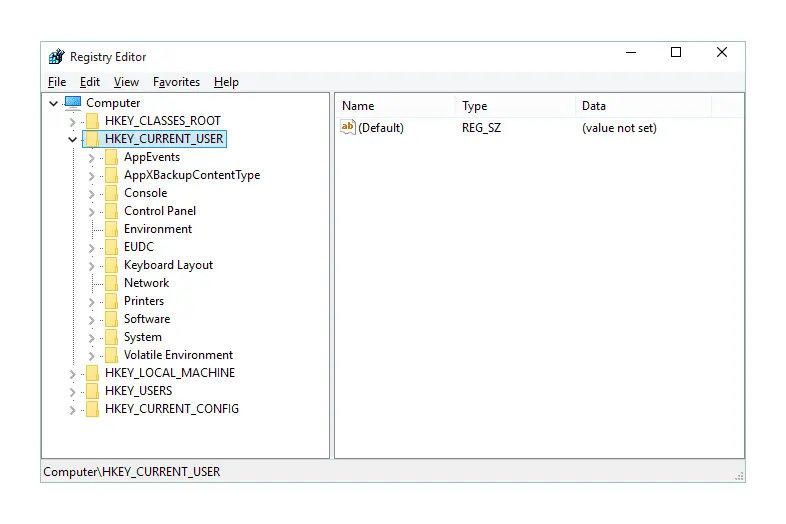
- Go to the Start button on your desktop. You must enter regedit.exe and then press Enter in the search box.
- In the Registry, look for “HKEY CURRENT
- USER/Software/MicrosoftWindows/CurrentVersion/ExploreUser.
- Double-click on Shell Folders , and then choose the App Data option.
- After changing the default value to your local profile path, close the window.
- Launch QuickBooks after restarting your computer to look for any issues.
Measure 4: Add Windows user
- By pressing the power button, choosing Settings, and then clicking the Gear icon in the Start menu.
- In the Windows Settings pane, click Accounts.
- Select Other People from the menu.
- Choose the option to Add another user to the computer.
- If prompted, you are not required to enter your email address.
- Similarly, you could avoid entering your sign-in information by selecting I don’t know this person’s sign-in information.
- Select this option after adding a user without a Microsoft account.
- For this new user, create a new username and password.
- Click the Next button to continue.
- Next, choose Local account to create a brand-new local account with administrator rights.
Measure 5: Rectify Windows Update and the Windows Installer
The steps listed below should be followed in the case of Windows Update:
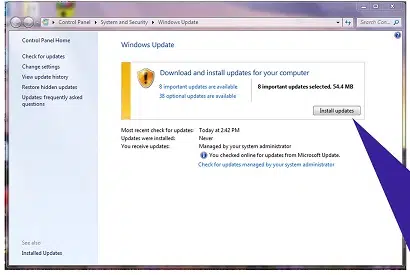
- Select the Start menu button to update your Windows operating system.
- Click on the gear icon to access System Settings.
- Pick Security and Update from the Settings menu.
- After that choose the Windows Update tab.
- Soon after, hit on the Check for Updates link.
- Select the Get updates option if any updates are available.
- The update will download and install on your computer, and then you’re done with updates.
You may also read : How to Resolve QuickBooks Error Code 404?
We end this article with a hope that its contents helped you fix QuickBooks Error code 1712. If you need our help, we would love to receive you and make sure that all your QuickBooks queries get sorted out. Just give us a call at 1 800 761 1787.