So you’re arranging the most important day of your life, and you’ve already chosen the few (or hundreds) people who will attend your lavish wedding. The stage is ready, the date has been set, you have already chosen the type of wedding invitation paper you want to print details on and you have a mountain of invitations awaiting distribution. So, how do you put together a sophisticated wedding invitation suite? What do you do first?
You should have already sent out your Save-The-Dates at this point. It’s time to send out your wedding invites about three months before the big day. The following are some of the resources you’ll need to make a formal wedding invitation:
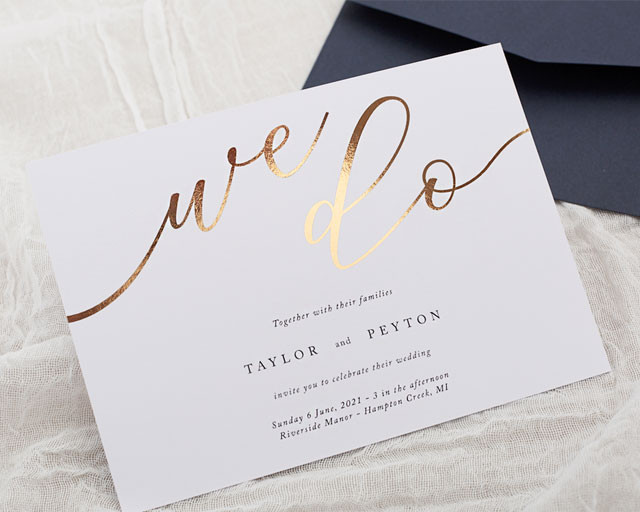
• The actual wedding invitation
• Reception cards (announcing the location and details of your reception)
• Response cards (announcing the location and details of your reception)
• Response envelopes (stamped and labeled with a return address)
• Directions/map cards (announcing the location and details of your reception)
• Envelopes for the inside of the envelopes
• Envelopes for the outside of the envelopes
• Tissue Paper (optional): Many couples have used tissue paper to keep their ink from spreading in the past. Tissue paper is more of a preference than a requirement with today’s smear-free invites.
The following are the steps to assemble your wedding invite in the proper manner.
STEP ONE:
Before assembling, double-check that all of your envelopes (both inner and outer) are properly addressed and stamped. There will be no awkward writing-mark indentations on the wedding invitation in this manner.
STEP TWO:
Place the wedding invitation inside the inner envelope, with the front-facing open flap of the envelope. If you’re using tissue paper, this is the moment to tear it out and insert it between each layer.
STEP THREE:
The reception card should then be placed face-up on top of the invitation. Enclosures will be placed within the folded invitation rather than on top if the invitation is folded.
STEP FOUR:
Place the remaining enclosing cards face-up on top of the reception card (i.e. map card and hotel accommodations card). If there are distinct directions for the ceremony and the reception, double-check that the ceremony directions are above the reception guidelines.
STEP FIVE:
Place the reply envelope on top of the enclosure cards, tucking the reply card inside the flap of the envelope. Make sure the printed side of the reply card is visible by placing it face-up. Contrary to popular perception, the reply card should not be placed inside the reply envelope.
STEP SIX:
Slip the unopened inner envelope into the outer envelope with the names facing the back flap after you’ve inserted all of these pieces into the inner envelope. Tips on how to address the outer envelope can be found on this site.
You’ll have your wedding invites finished and sent out to your guests in no time if you follow these six simple steps. Following these simple procedures will not only make it easier for you, but your invites will also have a classy look that everyone will be talking about until the big day.