Indeed, you can change the Windows 10 DNS settings for additional private and dependable administrations, and in this aide, we’ll show you how.
As a feature of your web access membership, the web access supplier (ISP) likewise supplies the nearby organization with the important settings, including the space name framework (DNS) addresses, empowering admittance to your #1 sites and online administrations and download documents.
MIGHTY PC CLEANER is the best suggestion and offering towards the topic How To Change DNS Settings On Your Pc Running Windows 10 and Mac. The main admonition is that the ISP’s DNS servers are typically not exceptionally private, slower than different administrations, and once in a while temperamental. Notwithstanding, you can continuously utilize different resolvers from outsider organizations to further develop your web insight on Windows 10.
What’s DNS?
A space name framework is network access (generally at no expense for you) that permits you to type a well-disposed area name in the internet browser to stack a site. What’s more, without it, it’d be a bad dream to ride the web.
The issue is that each gadget requires an IP address (model, 104.18.189.55) to speak with different gadgets. Nonetheless, these addresses are difficult for people to recollect, and DNS servers are the ones that give the system to decipher agreeable space names (model: WindowsCentral.com) into an IP address that computers can comprehend.
Even though you can type https://windowscentral.com to get to our site, behind the scenes, the program initially sends a solicitation to the DNS servers to determine the site name into an IP address. At the point when the location is found, it returns, and afterward the program interfaces with the webpage and downloads the page’s items.
Normally, you won’t see this cycle since everything occurs in milliseconds. In any case, if your resolvers are not dependable, they delayed down your web, or you need to utilize quicker and more confidential servers, Windows 10 permits you to change these settings by utilizing Control Panel, Command Prompt, and Settings application.
The most effective method to change DNS settings utilizing Settings on Windows 10
To change the DNS tends through the Settings application, utilize these means:
- Open Settings Option
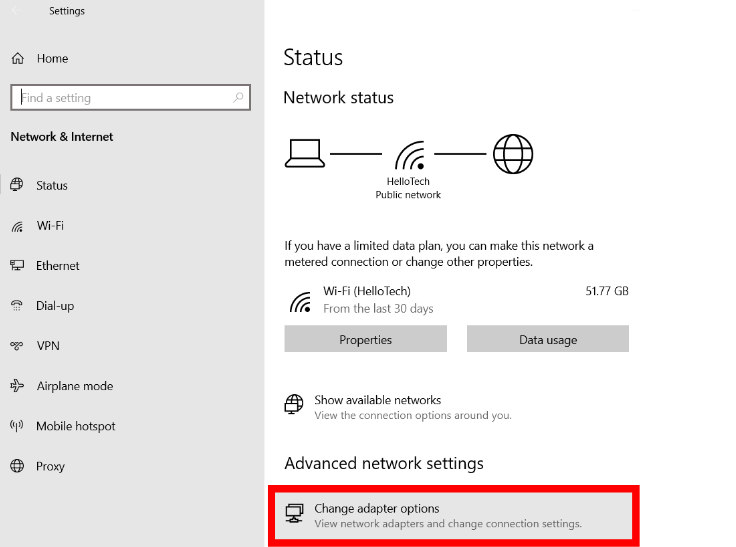
- Click on the Network and Internet option
- Click on Ethernet or Wi-Fi button
- Select the association that interfaces Windows 10 to the organization.
- Under the “IP settings” area, click the Edit button on the screen
- Utilize the “Alter IP settings” drop-down menu and select the Manual choice.
- Turn on the IPv4 flip switch.
- Under the “Favored DNS server” area, affirm the essential DNS address. To use Cloudflare, Google Public DNS, or Cisco OpenDNS, utilize these settings:
Cloudflare: 1.1.1.1
Google Public DNS: 8.8.8.8
OpenDNS: 208.67.222.222
- Under the “Other DNS server” area, affirm the auxiliary DNS address. You can utilize one of the optional addresses from these organizations:
Cloudflare: 1.0.0.1
Google Public DNS: 8.8.4.4
OpenDNS: 208.67.220.220
- Click the Save button.
- Restart the gadget.
After you complete the means, you ought to now have the option to associate with the web utilizing the new resolvers. The restart might be important to recover an IP address arrangement for the gadget.
Albeit the Settings application ought to be the prescribed choice to change the DNS settings on your PC, we’re not posting this choice first since it very well may be mistaken for certain individuals.
The most effective method to change DNS settings utilizing Command Prompt on Windows 10
On the other hand, it’s additionally conceivable to change the DNS arrangement utilizing Command Prompt on Windows 10.
To utilize Command Prompt to change the PC DNS settings, utilize these means:
- Open Start.
- Search for Command Prompt, right-click the top result, and select the Run as supervisor decision.
- Type the accompanying order to send off the apparatus to change the systems administration settings and press Enter:netsh
- Type the accompanying order to distinguish the names of the organization connectors and press Enter: interface show interface
- Type the accompanying order to set the essential DNS IP address and press Enter: interface IP set DNS name=”ADAPTER-NAME” source=”static” address=”X.X.X.X” In the order, change “Connector NAME” with the name of the organization connector you recognized on stage 4, and change “X.X.X.X” with the IP address you need to use. To use Cloudflare, Google Public DNS, or Cisco OpenDNS, you can utilize these settings:
Cloudflare: 1.1.1.1 and 1.0.0.1
Google Public DNS: 8.8.8.8 and 8.8.4.4
OpenDNS: 208.67.222.222 and 208.67.220.220
- Type the accompanying order to add an option DNS IP address and press Enter: interface IP add DNS name=”ADAPTER-NAME” addr=”X.X.X.X” index=2In the order, change “Connector NAME” with the name of your organization connector you questioned on stage 4, and change “X.X.X.X” with the auxiliary address. This model sets the auxiliary DNS address to 1.0.0.1:interface IP add DNS name=” Ethernet1″ addr=”1.0.0.1″ index=2Quick tip: You can rehash the above moves toward adding more locations if fundamental. Notwithstanding, in the order, you should expand the quantity of the list choice by 1. For example, interface IP add DNS name=”Ethernet1″ addr=”8.8.8.8″ index=3 Promotion
When you complete the means, Windows 10 will begin utilizing the new DNS server locations to determine area names to numeric addresses that your gadget can comprehend.