Blog Introduction: A swimming pool is a great addition to any home—it provides a place to cool off on hot summer days, a place to gather with friends and family, and a source of exercise. If you’re thinking about adding a pool to your home, you’ll also need to think about how you’re going to tile it. Tiling your pool is a necessary step to ensure that it stays clean and looks great for years to come. In this blog post, we’ll show you how to tile your pool in eight easy steps!
Step One: Choose Your Tile
The first step in tiling your pool is to choose the right tile. There are many different types of swimming pool tiles on the market, so it’s important to do your research before making a decision. Consider the color, material, and price of different tiles before making your final selection. Once you’ve chosen your tile, it’s time to move on to step two!
Step Two: Clean the Pool Surface
Before you can begin tiling, you’ll need to make sure that the surface of your pool is clean. Begin by sweeping the surface with a broom to remove any dirt or debris. Next, use a hose or pressure washer to remove any stubborn dirt or grime. Once the surface is clean, you’re ready to move on to step three!
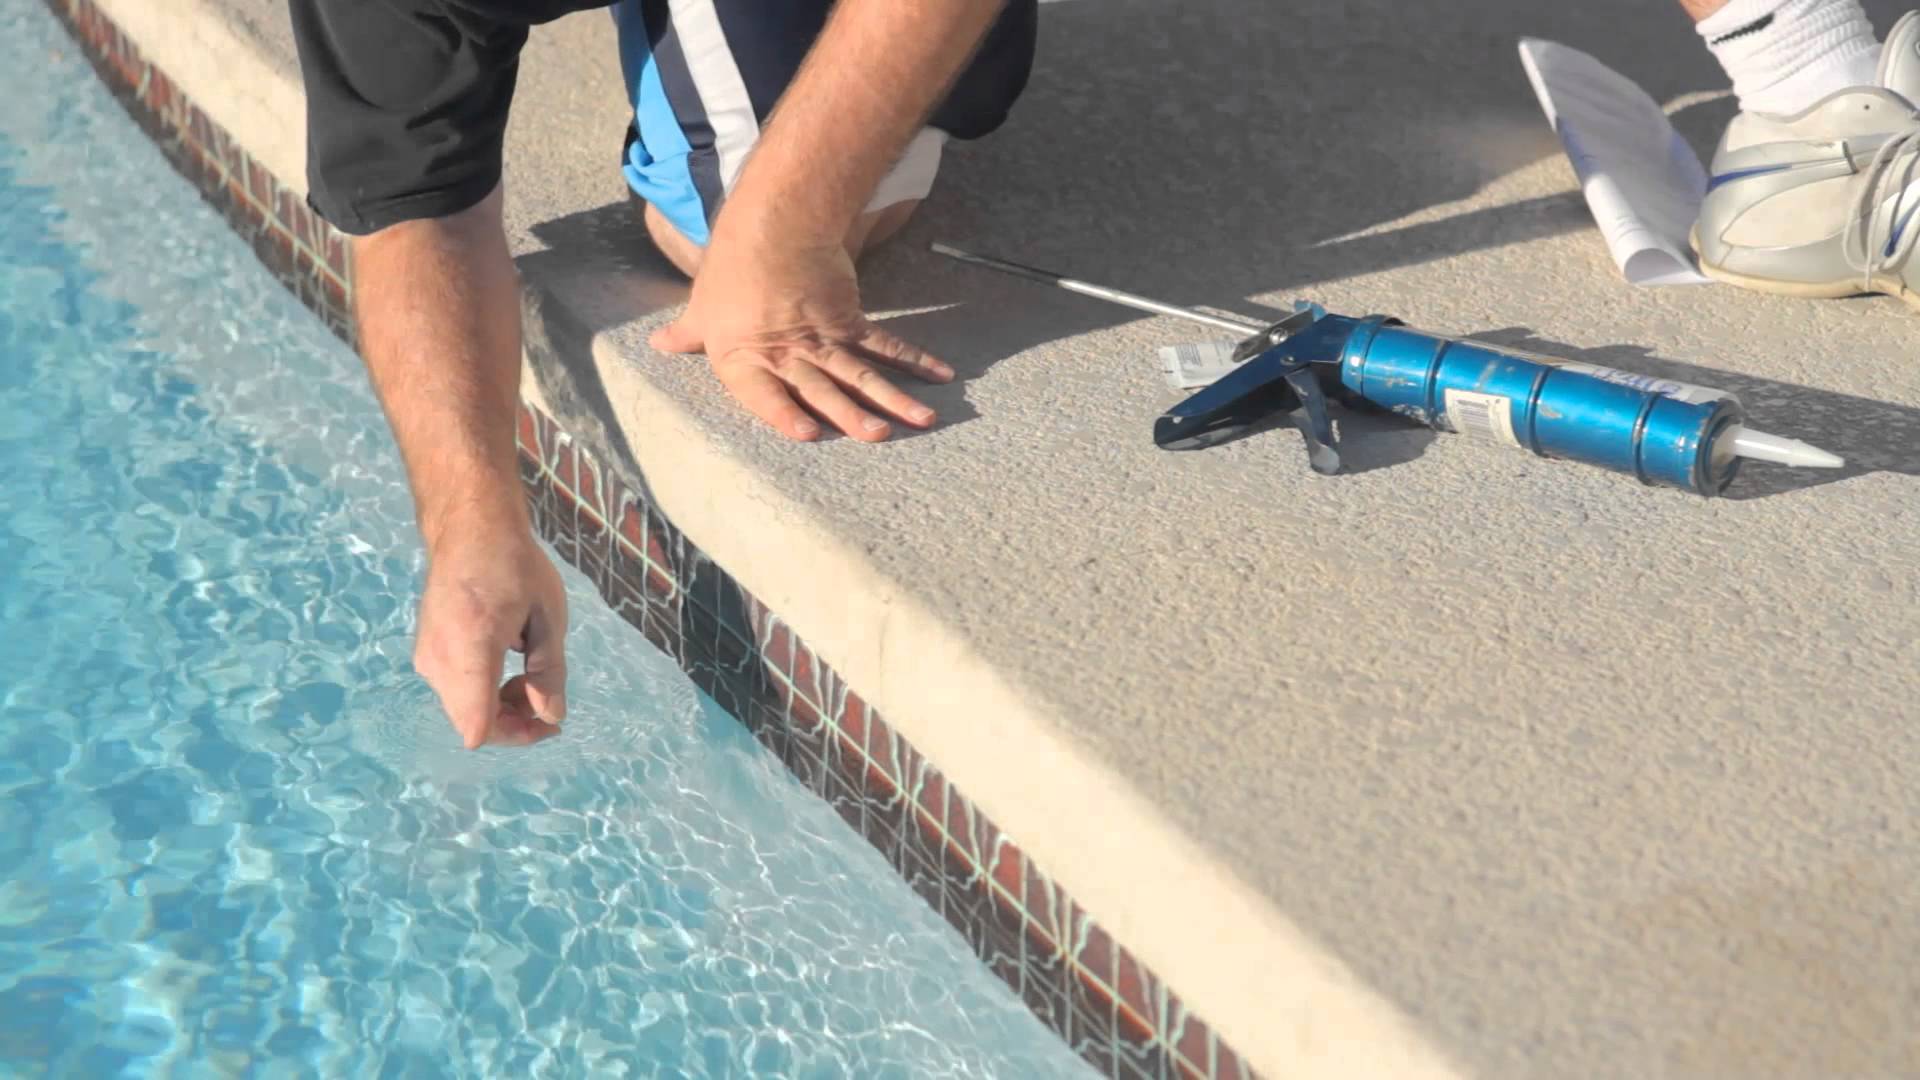
Step Three: Apply Adhesive
Now that the surface of your pool is clean, it’s time to apply adhesive. Begin by spreading adhesive crossways on a small section of the pool surface with a notched trowel. Once you’ve applied adhesive, place your first tile in position and press down firmly. Repeat this process until all of the tiles have been applied. Allow the adhesive to dry for 24 hours before moving on to step four!
Step Four: Grout the Tiles
Once the adhesive has dried, it’s time to grout the tiles. Begin by mixing grout according to the manufacturer’s instructions. Once the grout is mixed, use a rubber float to spread it over the surface of the tiles. Work the grout into all of the cracks and crevices between tiles until they are full. Use a damp sponge or cloth to remove any excess grout from the surface of the tiles. Allow the grout to dry for 24 hours before moving on to step five!
Tap Five: Apply Sealant
Once the grout has dried, it’s time to apply sealant. Begin by mixing sealant according to the manufacturer’s instructions. Once the sealant is mixed, use a paintbrush to apply it over the surface of all of the tiles. Make sure that every tile is thoroughly coated with sealant before moving on to step six! Step Six: Wait for It to Dry
Once you’ve applied sealant, all that’s left to do is wait for it to dry completely before using your pool! Depending on temperature and humidity levels, this could take anywhere from 12-24 hours. Once dry, enjoy your new tiled pool!
Conclusion:
Tiling your pool is a necessary step in ensuring that it stays clean and looks great for years down the road. In this blog post, we’ve shown you how easy it is to tile your pool in eight simple steps! Just remember to choose your tile carefully, clean the e-pool surface thoroughly, apply adhesive, grout the tiles, apply sealant, and wait for everything to dry before using your new tiled pool! Follow these steps and enjoy your new tiled pool for years to come!