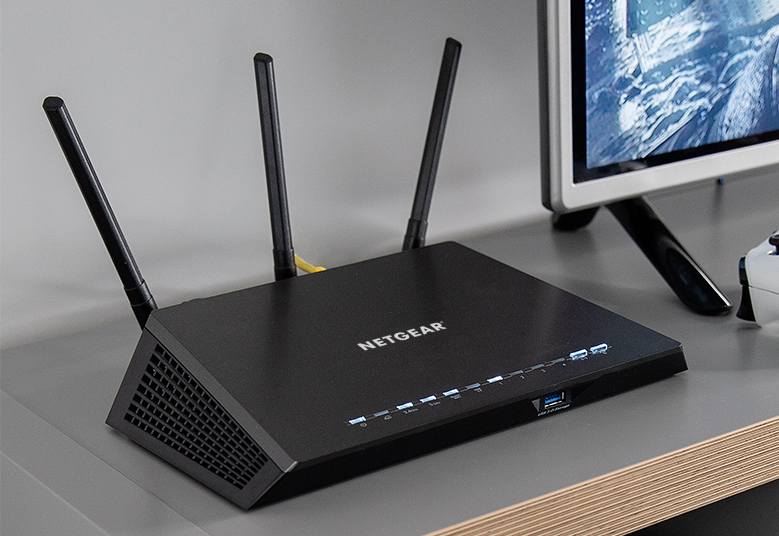
A Netgear guest network allows relatives and friends visiting your home to use the WiFi without using your primary router’s password. You can add a Netgear guest network for the 2.4 GHz WiFi band as well as the 5 GHz WiFi band.
Want to set up the Netgear guest network on your Nighthawk router? Yes? Then without much delay, follow the instructions provided below.
Steps to Set Up Netgear Guest Network
Step 1: Plug in your Nighthawk router and make sure that the power LED on it is stable and green.
Step 2: Then, grab an Ethernet cable and connect the Nighthawk device with your existing modem.
Step 3: Launch a web browser of your choice on a desktop, laptop, or wireless computer.
Step 4: Enter the default IP address of your Nighthawk router in the URL bar.
Step 5: A login window displays.
Step 6: Enter the default Nighthawk router login username and password.
Step 7: The dashboard of your Nighthawk router displays.
Step 8: Locate and click the Guest Network option.
Step 9: Select the 2.4 GHz or 5 GHz network in order to set up the Netgear guest network accordingly.
Note: If you can select the network, ensure that your router is broadcasting SSID (WiFi network name).
Step 10: Create a Netgear guest network by giving it a unique name.
Step 11: Click Apply to make changes effective.
That’s it! You have successfully created the Netgear guest network.
Now that you have successfully created the Netgear guest network, it is important for you to know some important points. These points will help you prevent any sort of router setup and login-related issues. Scroll down a little to know them!
- In case, the power LED on your Nighthawk doesn’t become stable or keeps on blinking, then you have to ensure that the wall socket in which it is plugged is working well.
- Apart from this, you can also check the router’s power adapter. Maybe it is not plugged in properly.
- The Ethernet cable you are using to connect your devices must not be damaged. Don’t think to connect your modem and the Nighthawk router wirelessly . The reason being, you may get signal interference that will result in the default IP address not working issue.
- Additionally, it is also suggested to prevent Nighthawk router default IP not working issues, make sure that the software of the device you are using isn’t outdated.
- The web browser should be up-to-date. Else, the router’s IP will not going to work on an outdated browser.
- The search bar has always given login-related issues. So, ensure that the IP address is entered only in the URL bar.
- To improve your data speed, close all the opened/ pinned tabs that aren’t needed (just for accessing the IP for creating the Netgear guest network). Also, there is a need to wipe out the entire browsing history.
What’s more? If you are using the mobile data for creating the guest network, then it will surely not going to work for you. Only WiFi will work in this case.
- Nighthawk router login details will also give you login-related issues. So, refer to the router manual to get complete information about the Nighthawk router login username and password.
- “Typos” is one of the root causes behind the Nighthawk router IP address not working issue. So, ensure that you are not making any sort of typing errors while entering the IP address.
Bonus: If you don’t want to use the manual method to set up the Netgear guest network, then you can use the Netgear Nighthawk app for the same. First, you need to download and install the correct version of the app (as per the device you are using) from the Play Store or App Store and follow the instructions provided on-screen. After following the instructions in the exact given order, the Netgear guest network will be created shortly.
So, after creating a separate network for your guests, are you able to make the most out of your WiFi network and safeguard your bandwidth? Share your reviews about the Netgear guest network feature and feedback about this article with your fellow readers via comments.


